


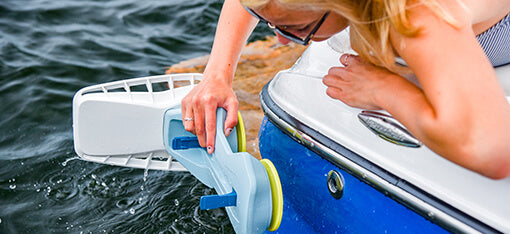


Waxing Your Wakesurfer | How to Wax KILO
Get the best performance out of your wakesurf board by building up an even coat of wax that gives you great traction all season. The process isn’t difficult, and in a short time you’ll be power sliding along that perfect crest. We’ll show you how to wax your board right to give you superb and effortless control on your MISSION wakesurfer.
Why Wax Your Board?
Wakesurf board traction pads can get heavy, clumsy and may even slip. Keep your feet where you want them and enjoy greater freedom and versatility with a coat of performance wax. The benefits of wax include:
- More secure traction
- Lighter board
- Better control
- Bigger air
When you’re out on the waves, you want your board to feel like an extension of yourself. Wax gives you that close connection to the water. It’s lighter than a trackpad and you’ll shave about a pound off your board’s weight. Soar higher when you hit that prime wake and confidently slice through every wave that comes your way.
What Kind of Wax Should You Use on Your Wakesurf Board?
All MISSION boards come with the wax you need. We include two bars of Sticky Bumps Surf Wax with every new board to ensure you have enough for several seasons.
You get a harder base layer of board wax that you’ll put on first and then a tropical top layer. Since lake water tends to be warmer, we recommend the tropical wax because it has a higher melting point. You want your wax to stay put after several hours out on the lake during those sunny summer days.

Sticky Wax has been making a great product for years and we’ve found it’s the bomb on MISSION wakesurf boards.
How To Properly Wax Your Wakesurfer
Let’s get into how to apply your wax for best performance. Follow these seven steps to build up the perfect traction coating on the top of your board. Apply your wax with steady medium pressure for an even coating.
1. Using the corner of your base layer wax bar, apply a series of diagonal cross hatches across the area of your board where your feet will go. In most cases this will be from the rear fin to the nose section. Space your lines 1-2” apart.

2. Still using the base layer wax, cross hatch in the opposite direction, crossing over the first set of wax lines you made.
3. Now lay the wide edge of your base wax bar flush with your board and drag it horizontally across the width of your board over the wax you’ve already applied.
4. Repeat, using the wide edge flush against your board but pull it vertically across the length of your board.

5. Switch to your topcoat wax bar and repeat step 3. Place the edge flush against the surface of your board and pull it horizontally across.
6. Use your topcoat bar flat against the board and create a layer going the length of your board vertically from nose to tail.
7. Continue to build up your wax layer until you get the level of traction you desire.
When you’re finished, you should be able to see a nice, elevated layer of wax on your board. Make sure you apply evenly to the rails, so your feet don’t slip if they get too close to the edge.
How to Care for Your Waxed Board
Once you’ve got your wax applied, you should be good for a season on the lake. Follow these simple suggestions to keep your wakesurf board wax from losing its grip:
- Keep your board out of the sun when you’re not using it.
- Store your wakesurfer in a board sock before and after you hit the water.
- Reapply wax every year.
To redo your wax, first remove the existing coat. You can do this by leaving your board in the sun to soften. Then use a credit card or wax comb to scrape away all the old wax. Simply follow steps 1-7 above to apply your fresh new layer.
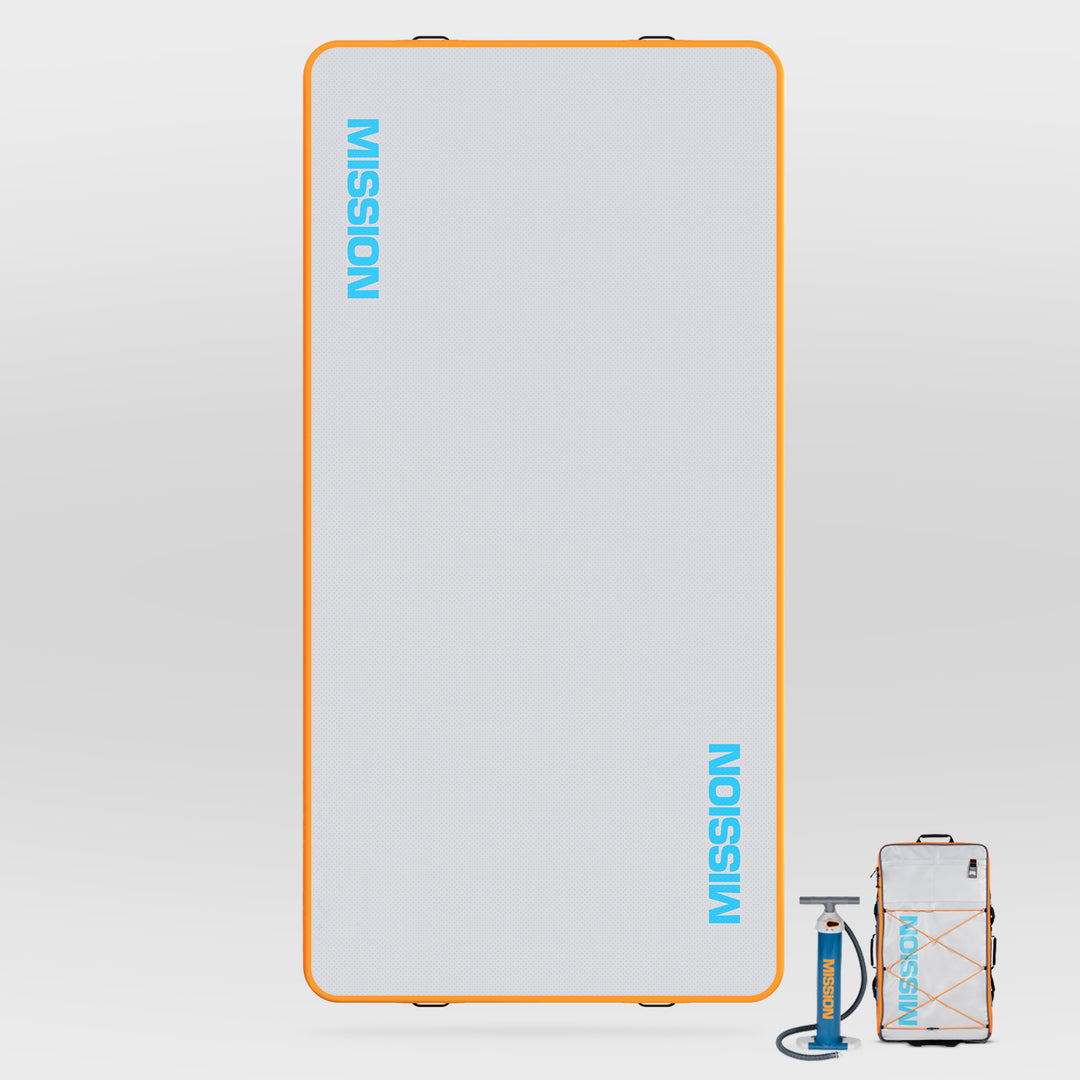
Get the Best Wakesurf Board with MISSION
MISSION has the best boards and all the wakesurf how-to resources that you need to look like a pro on the water! Check out all our products and tutorials and don’t hesitate to contact us with questions. Our mission is your summer fun.