How To Install The TITAN Dock Inflatable Dock Bumper

Lose your instructions? Download the PDF or follow the step by step below.

Plan

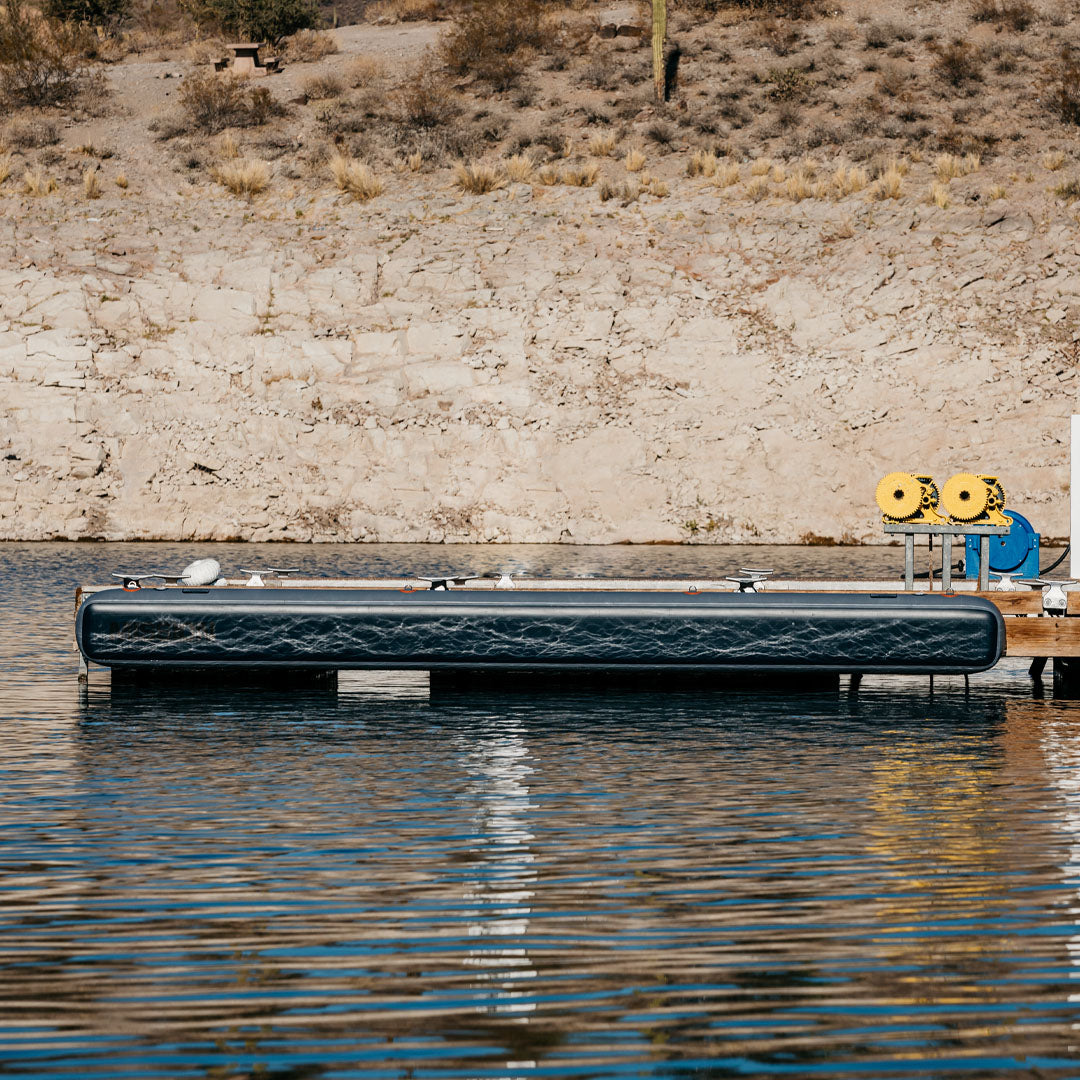
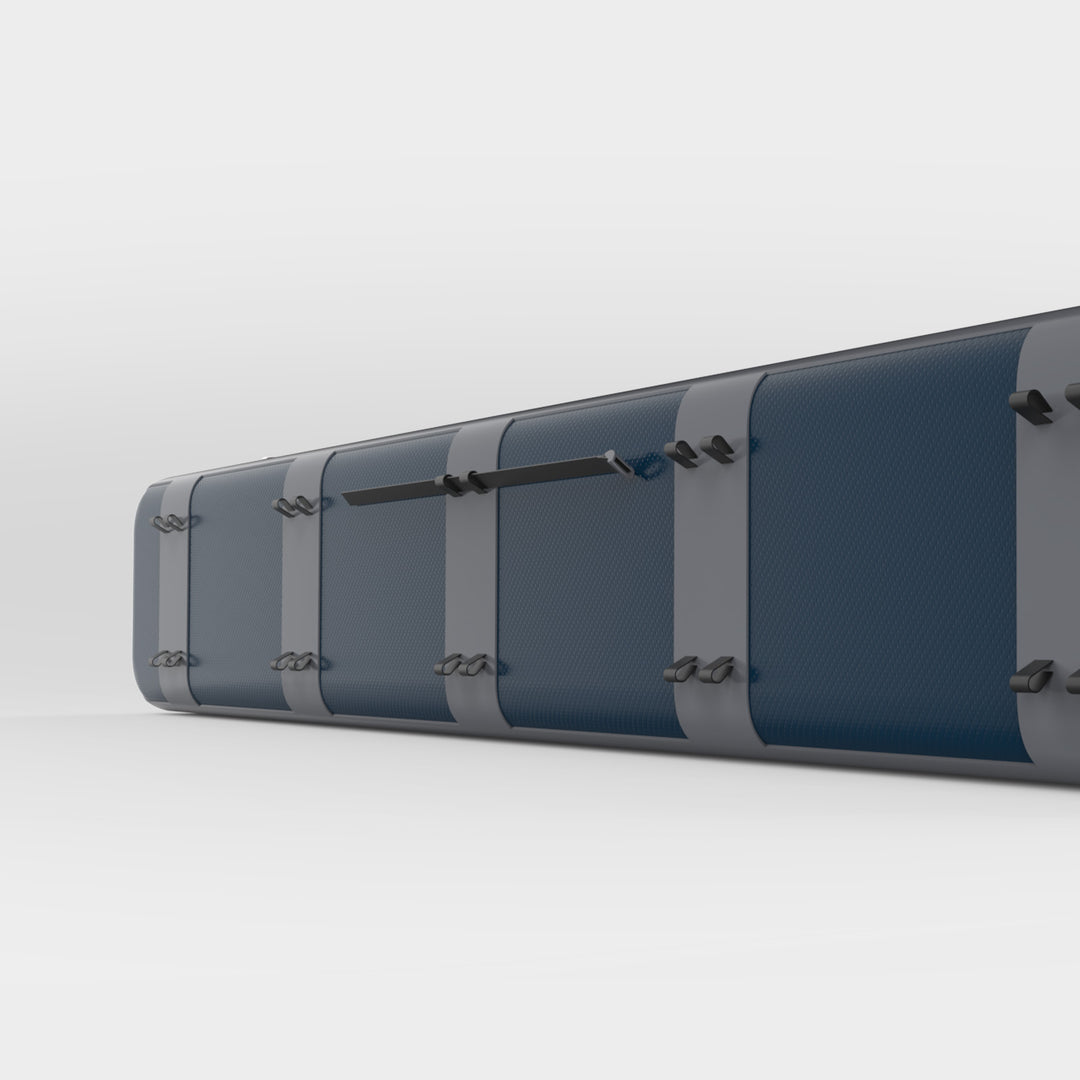
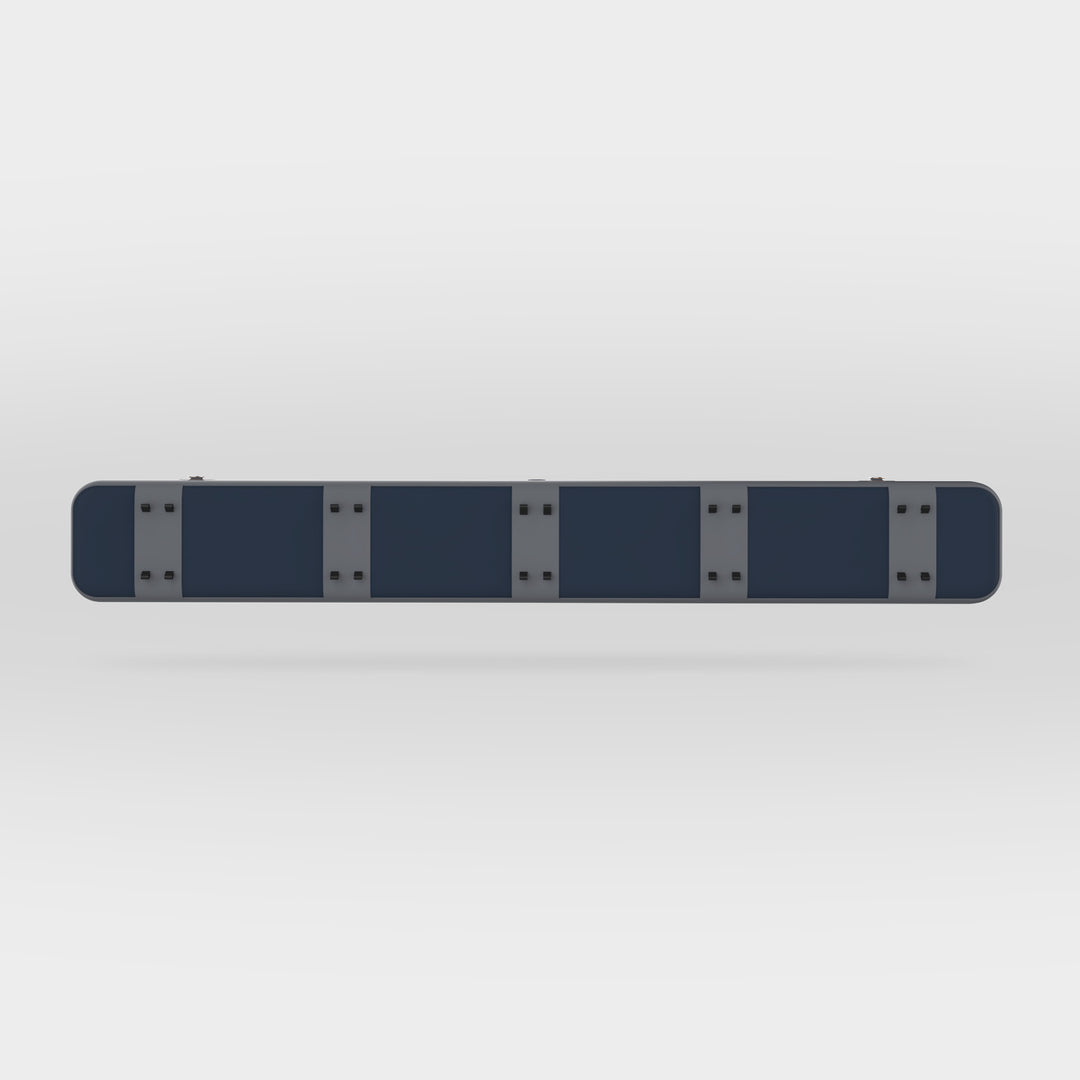
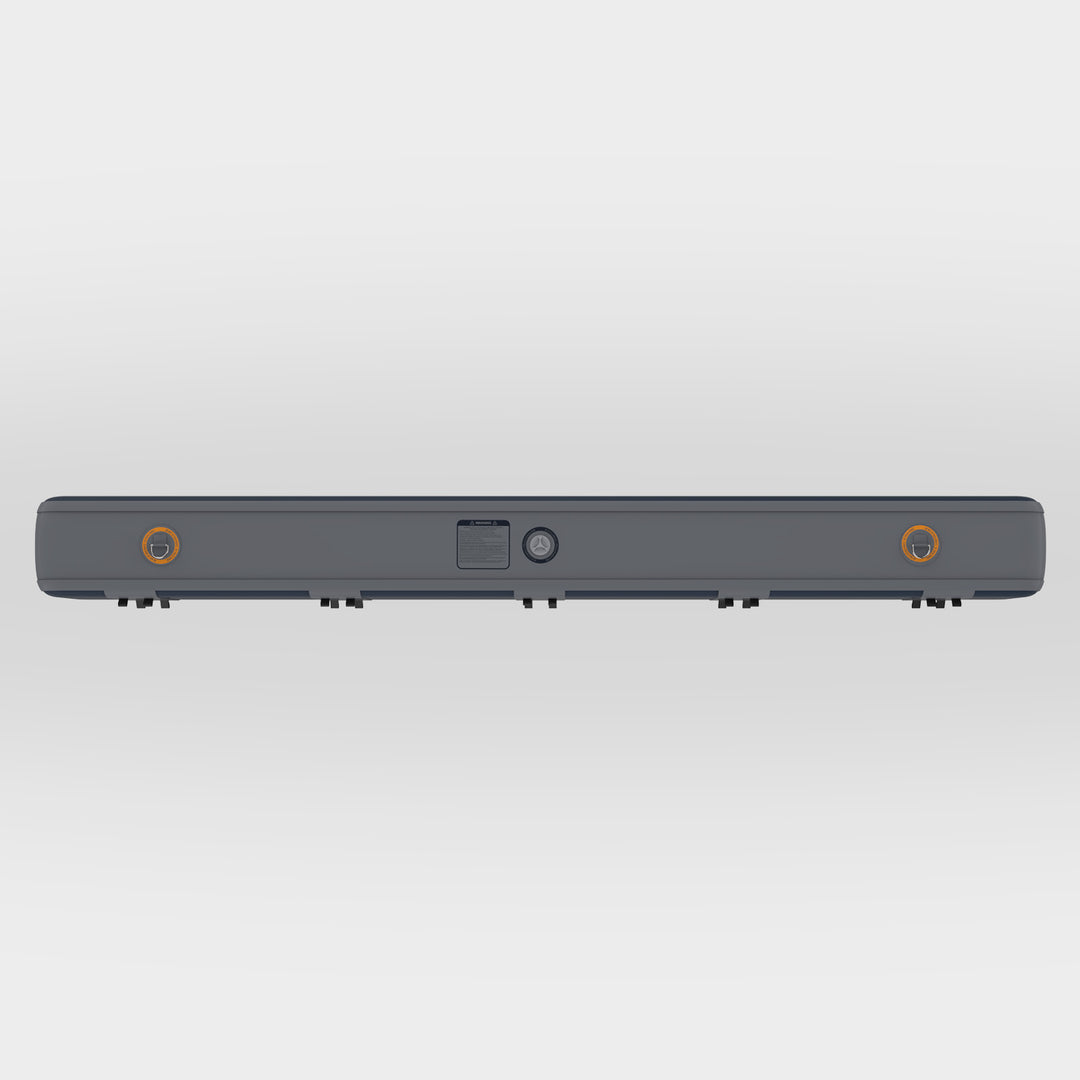
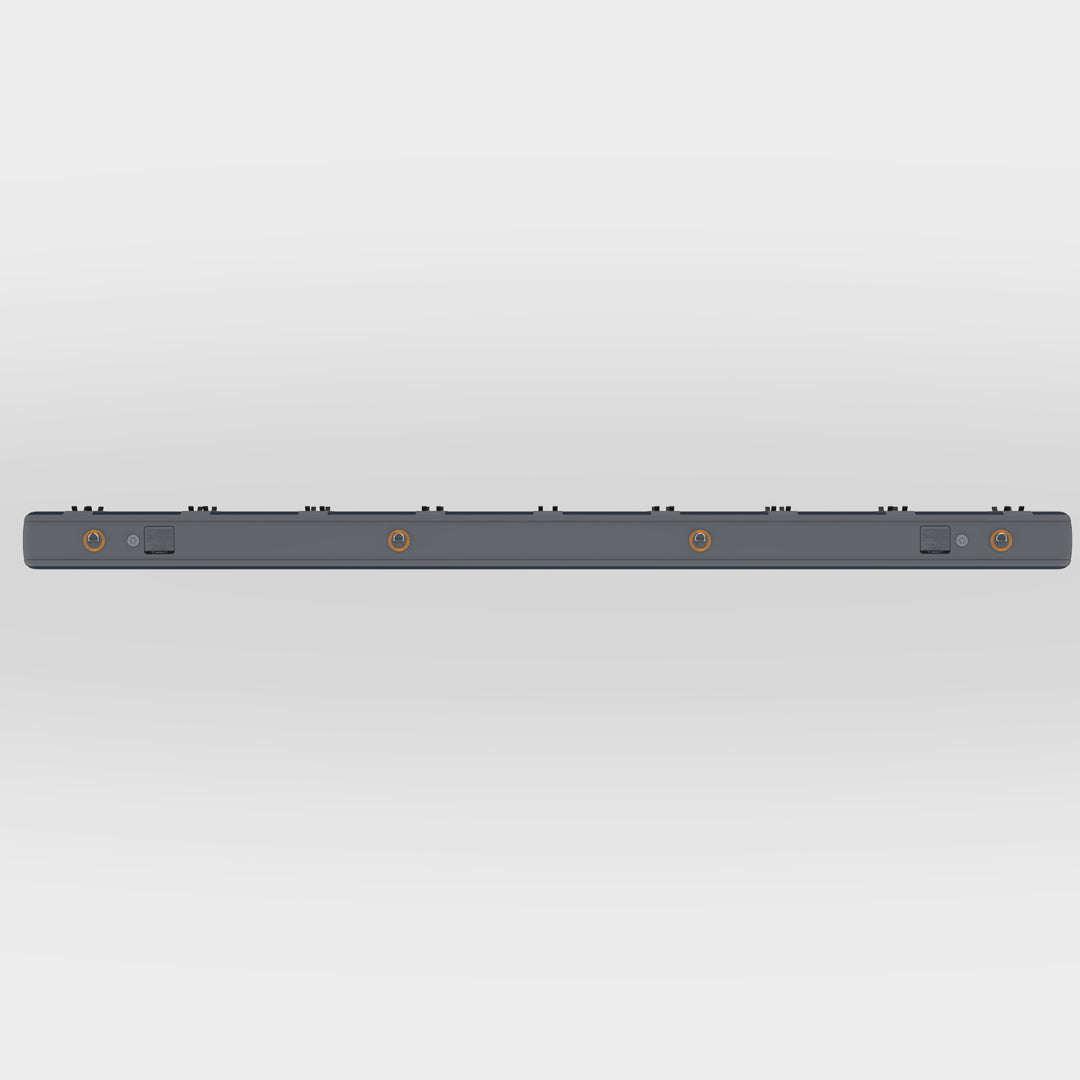
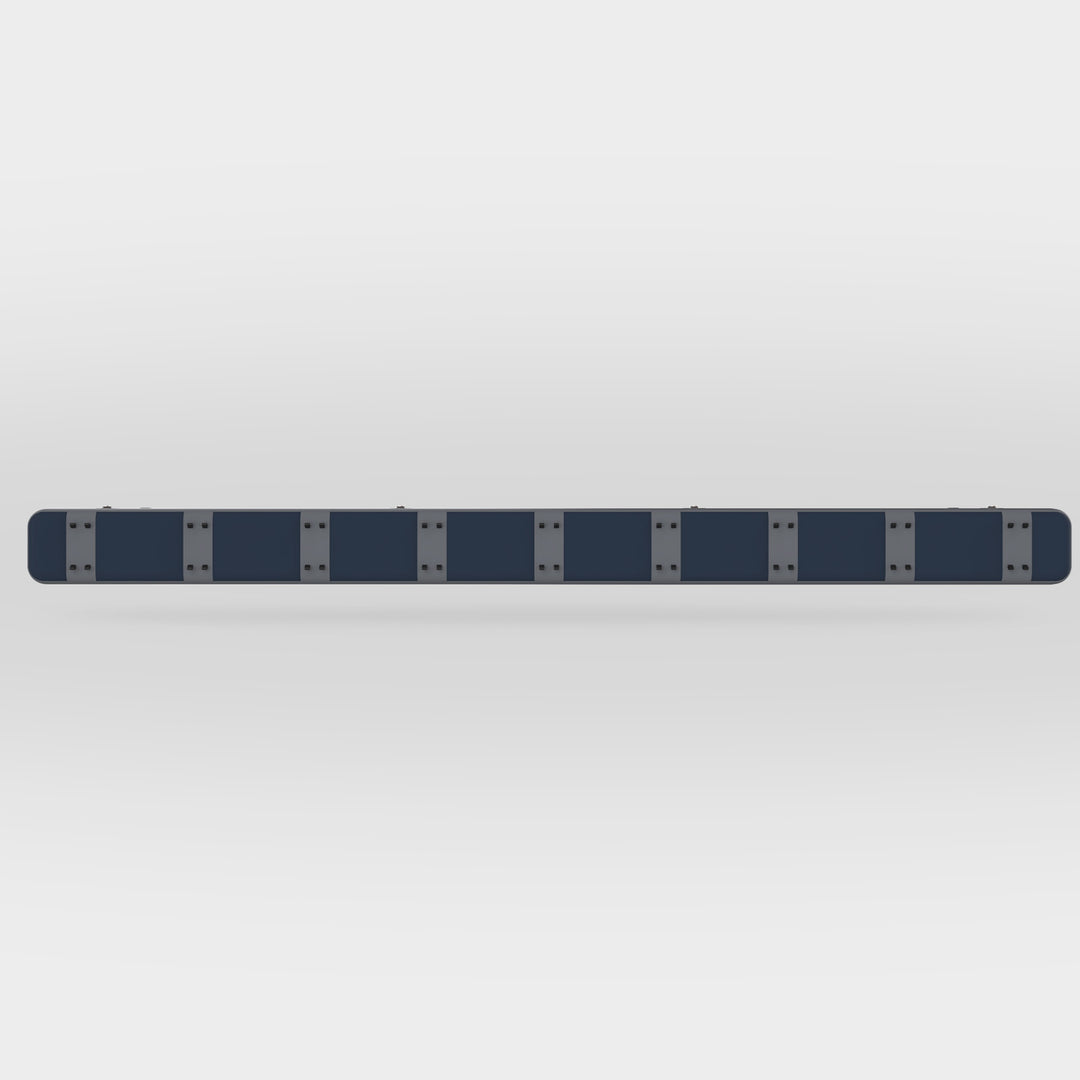
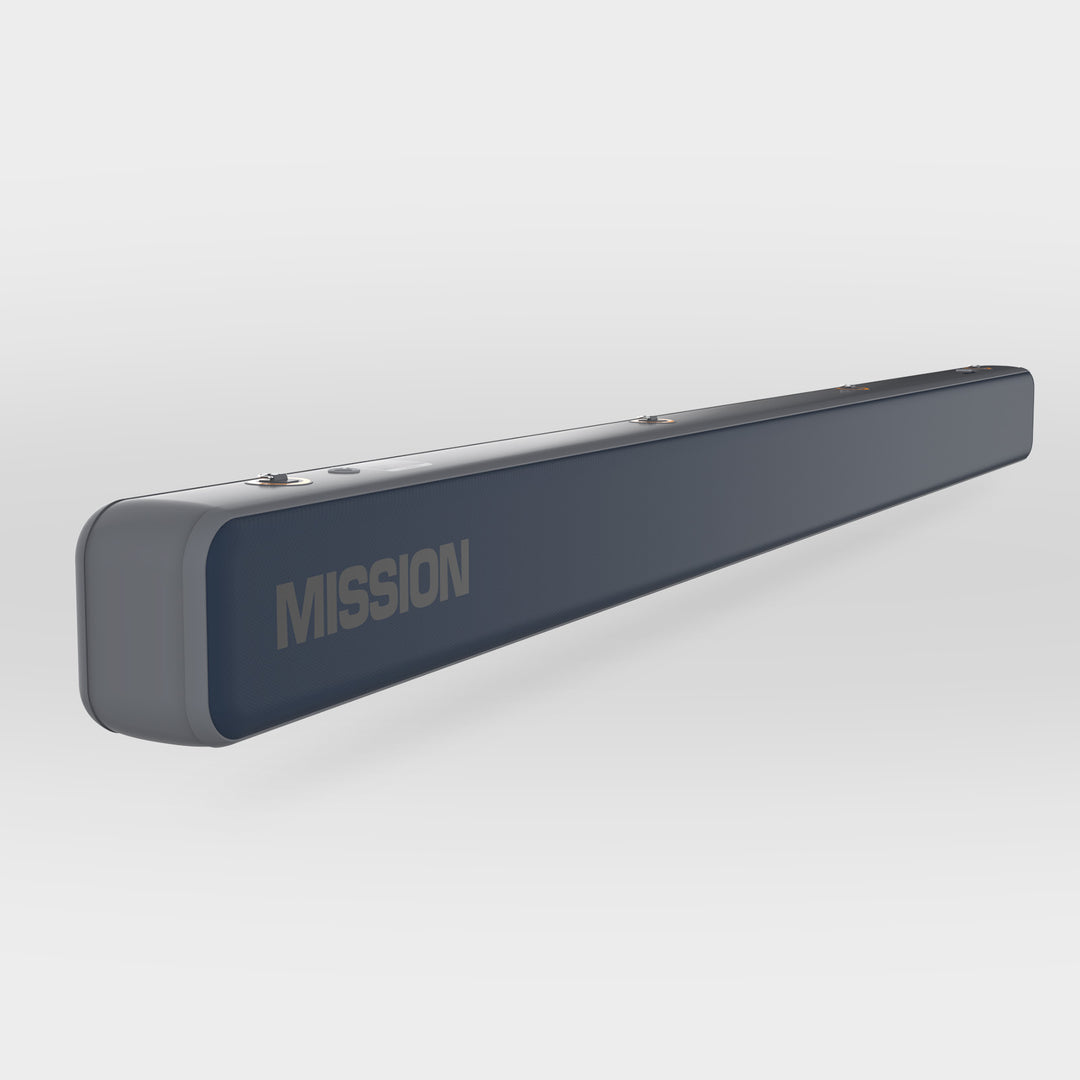
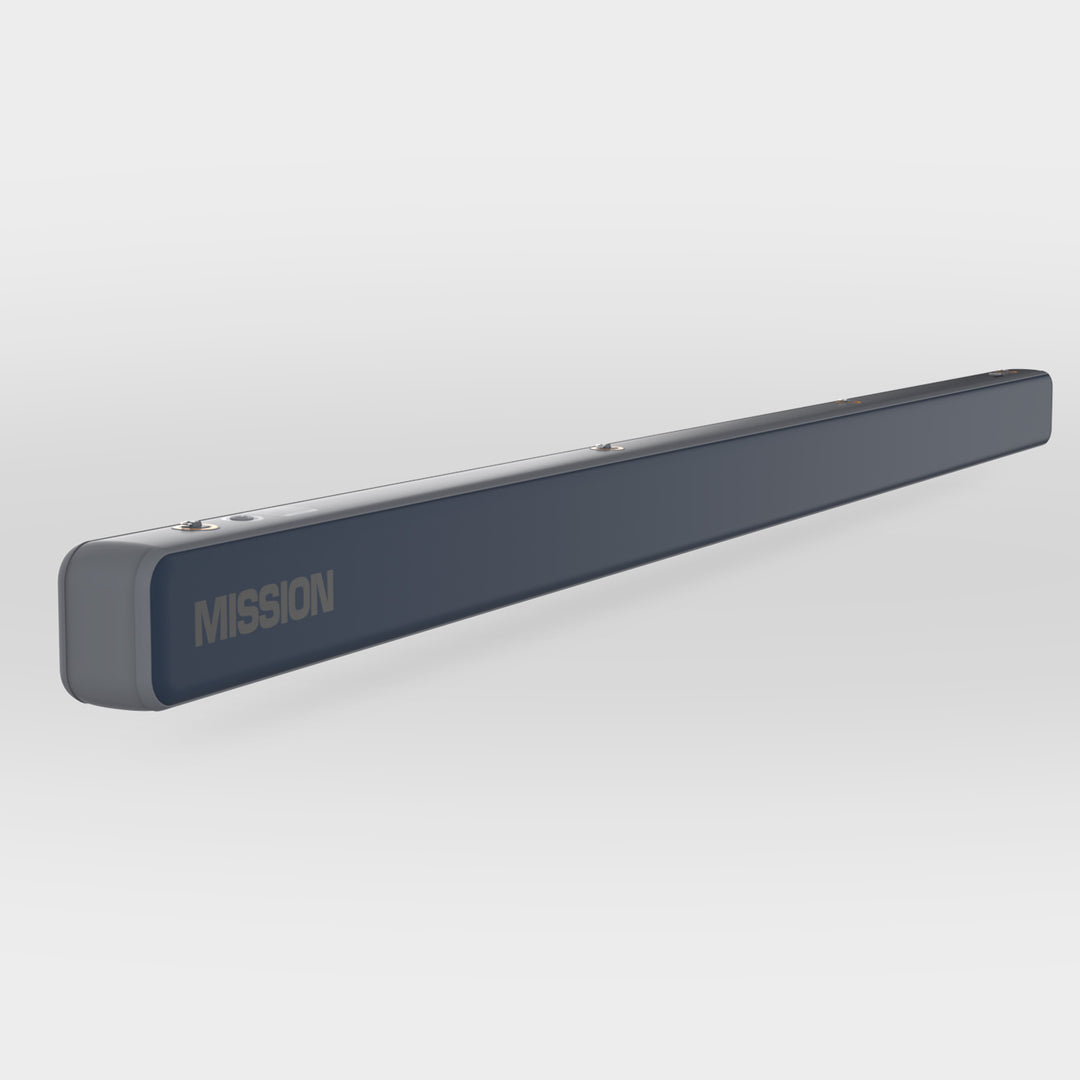
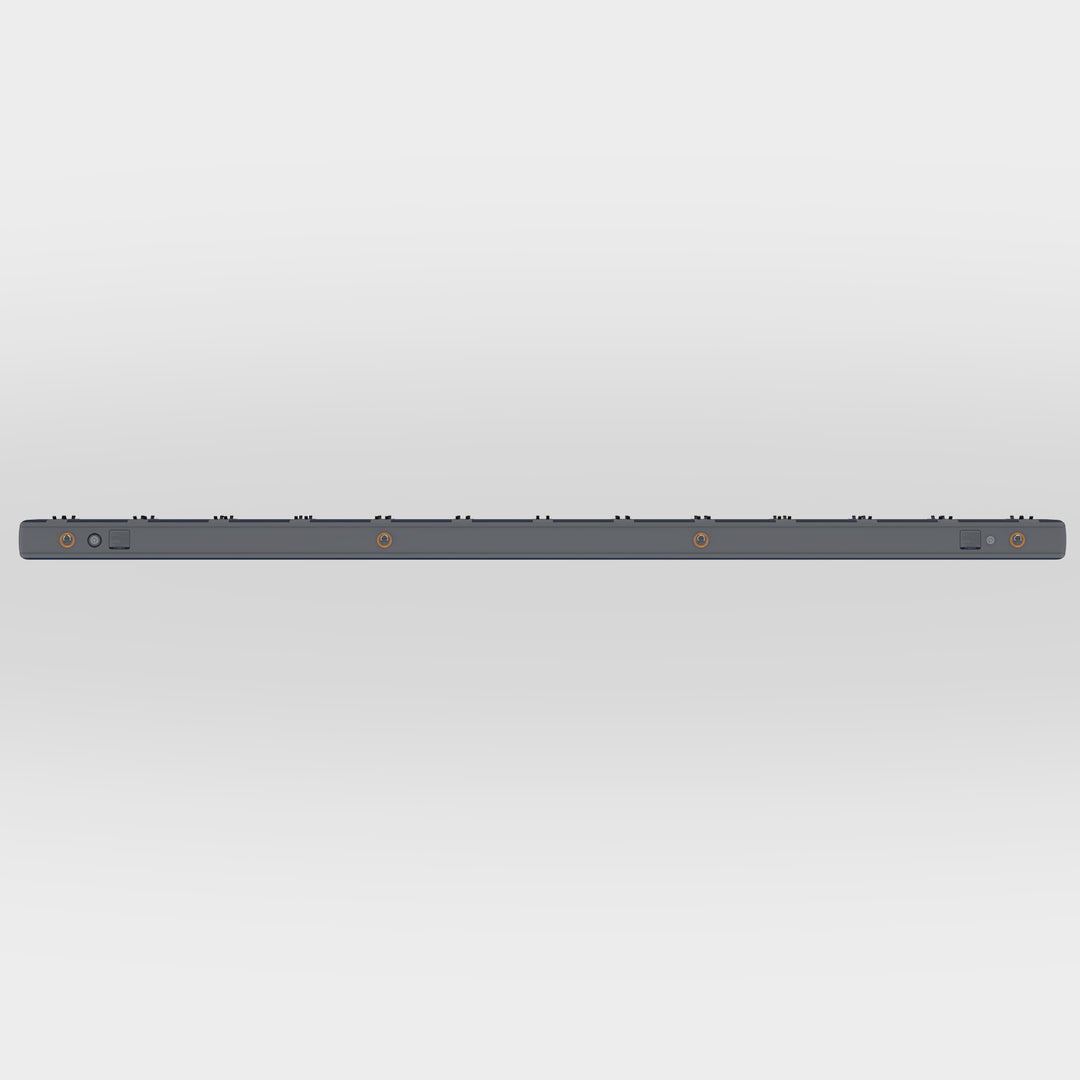
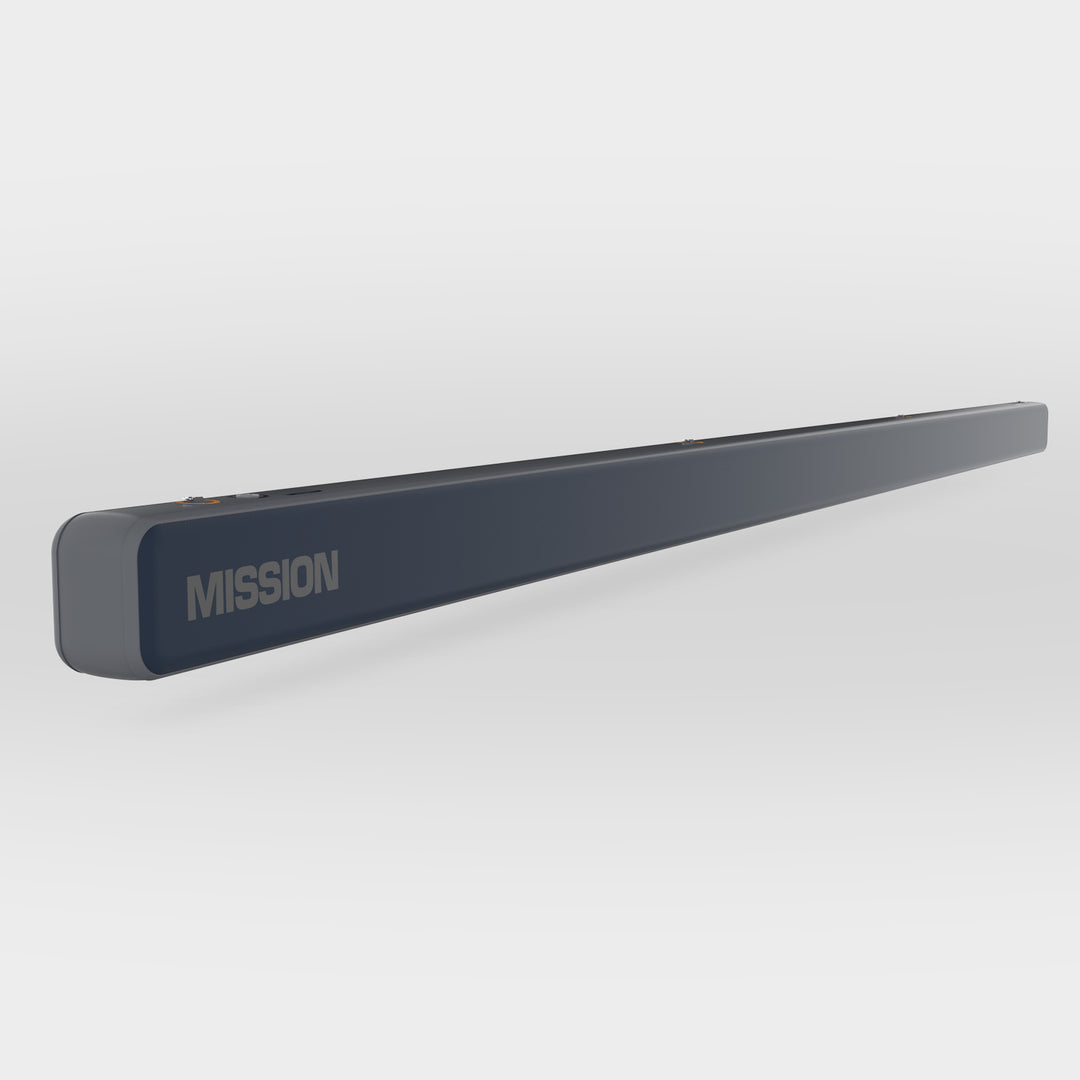
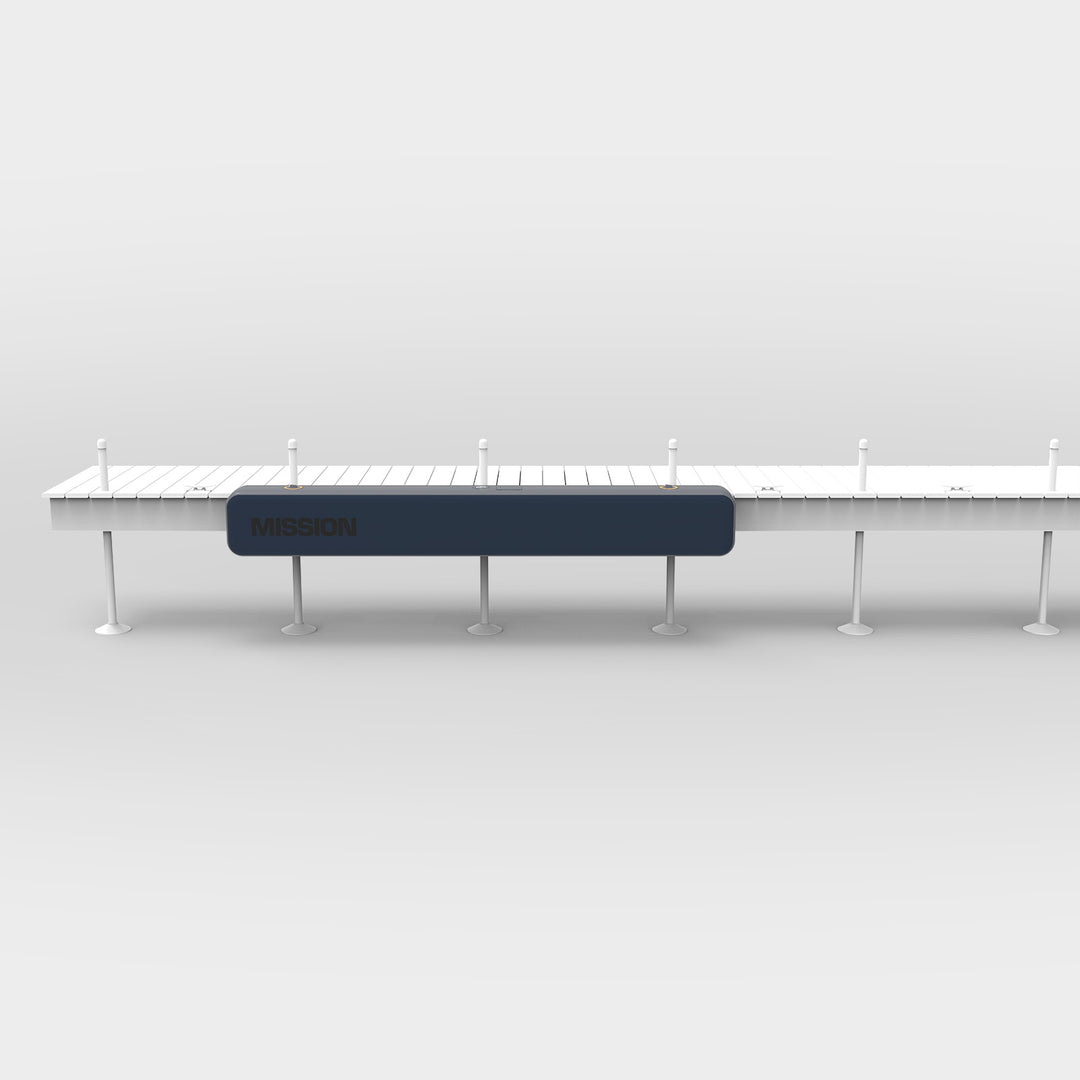
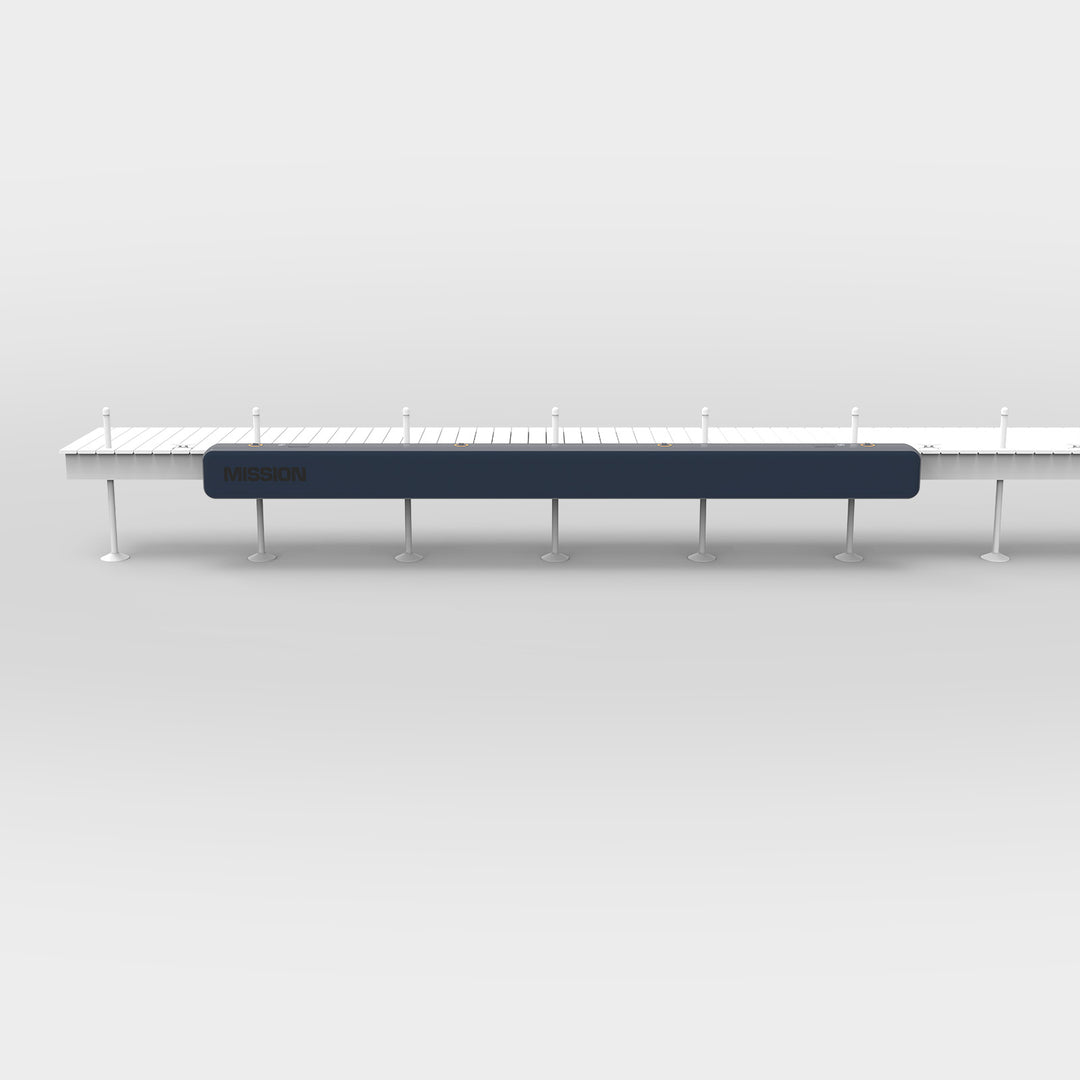
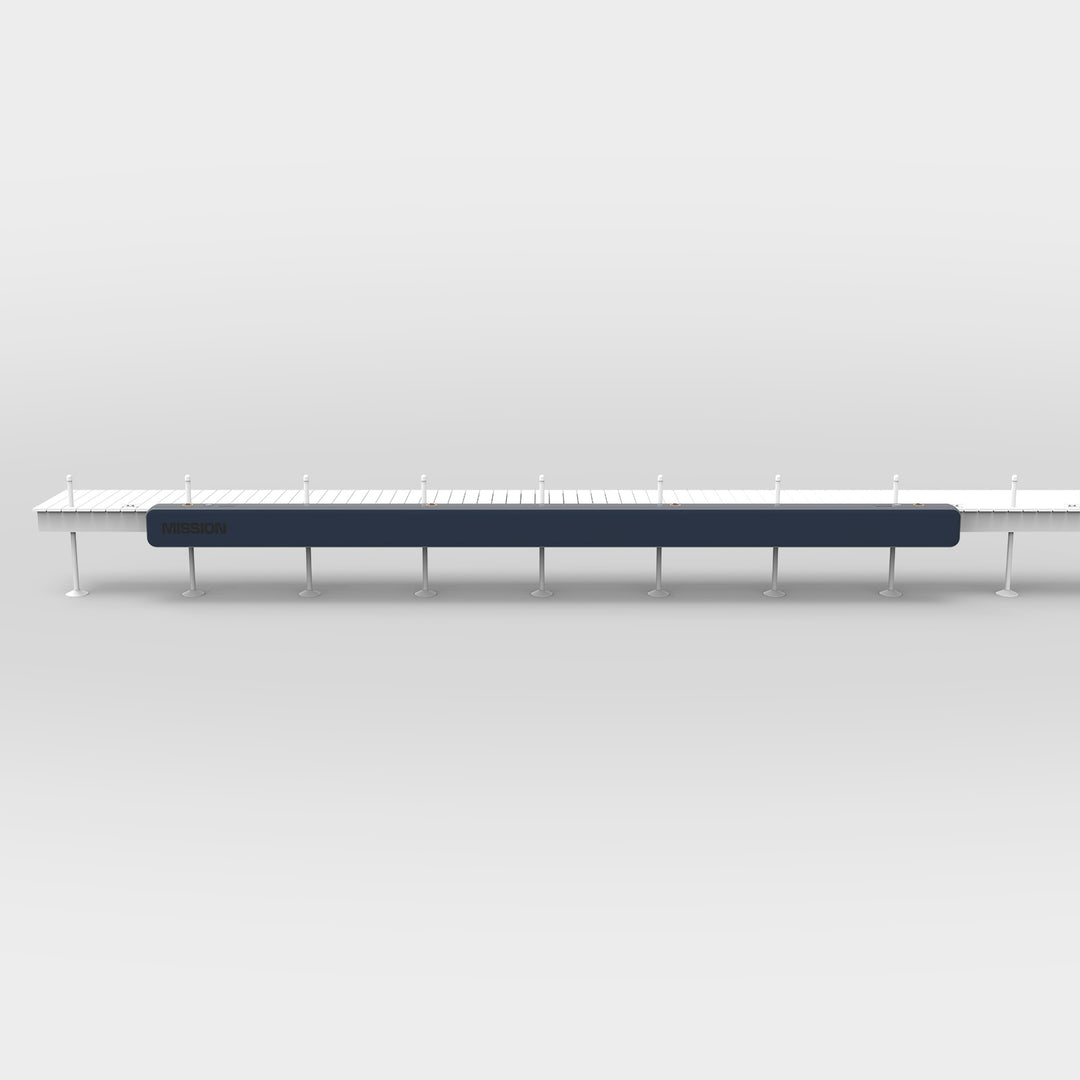
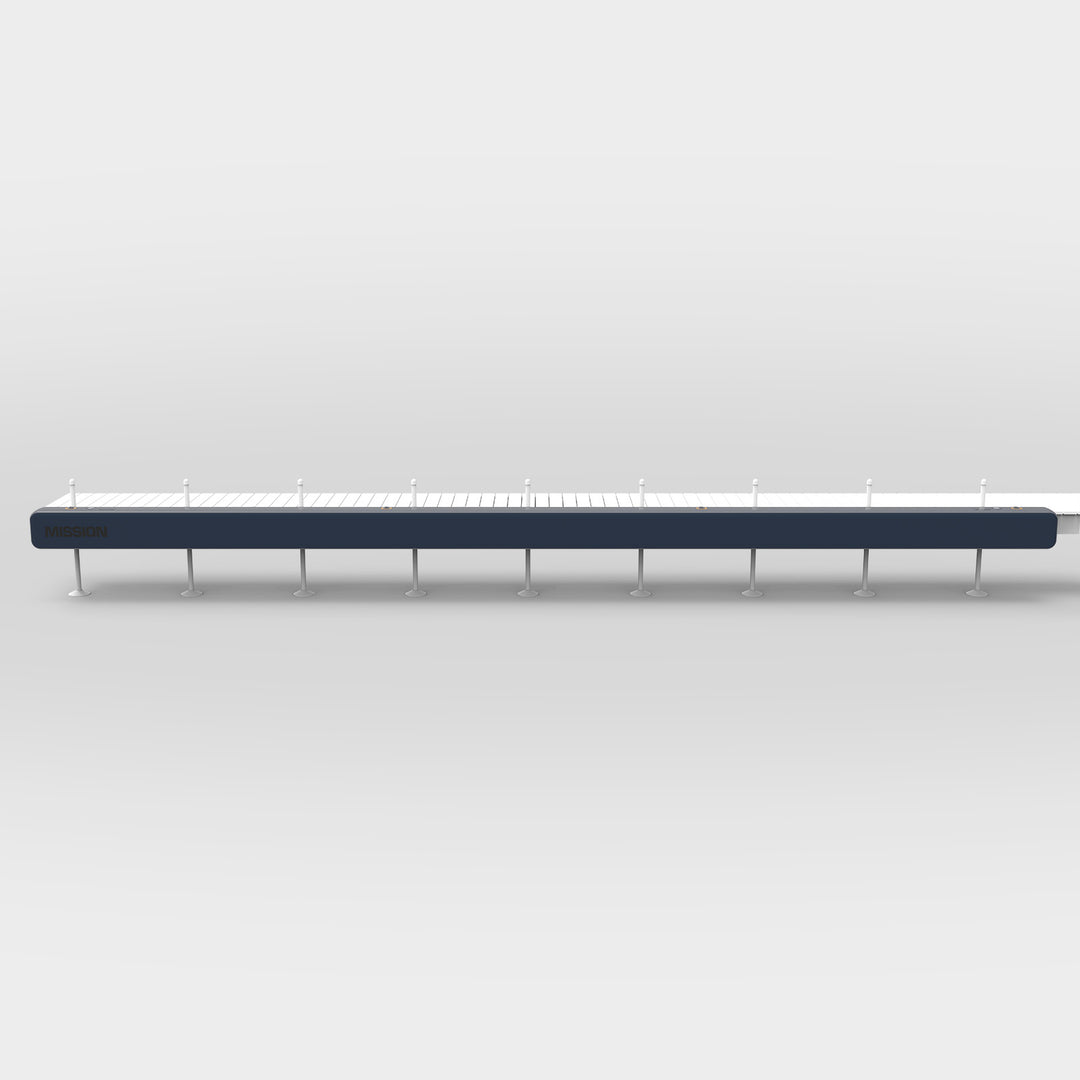
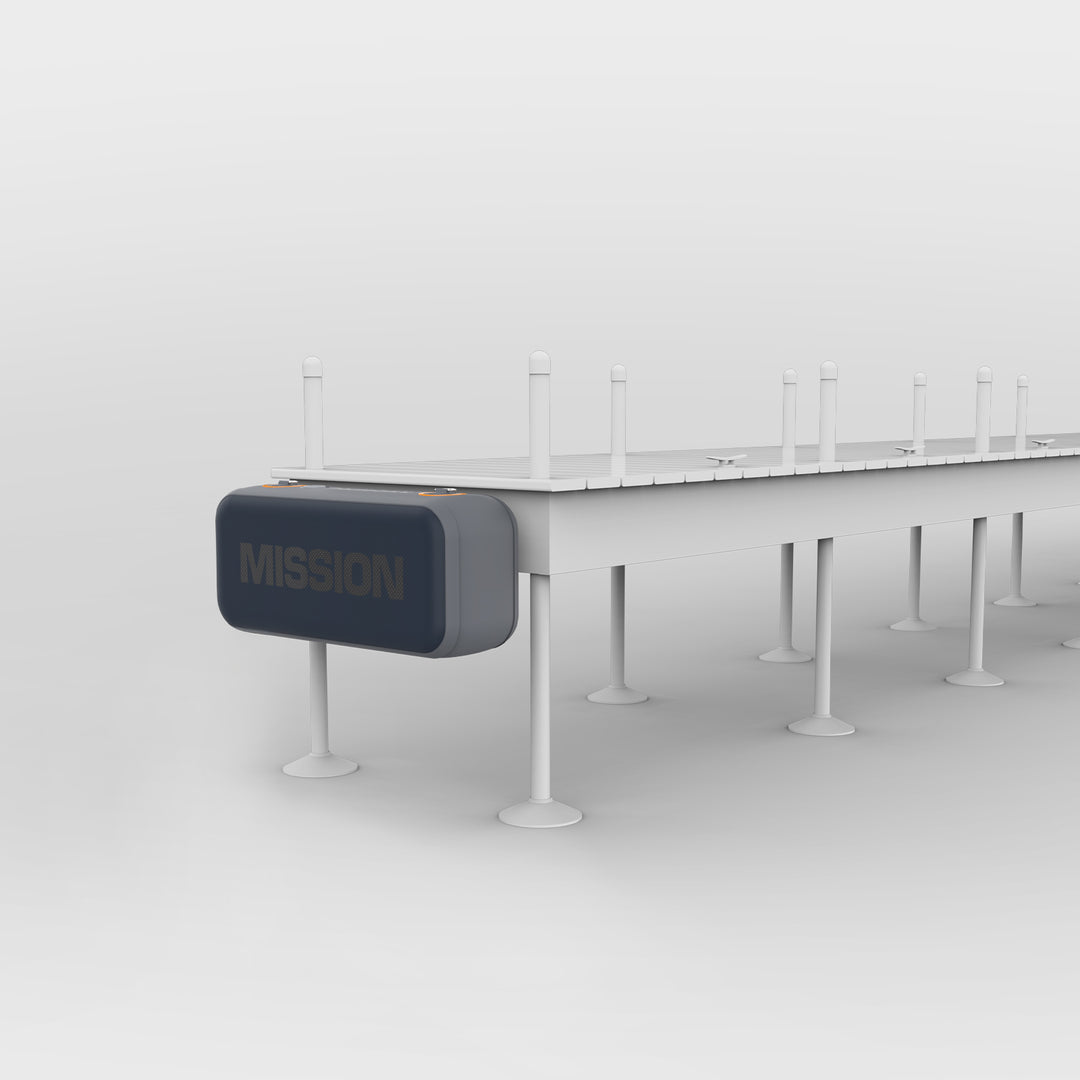
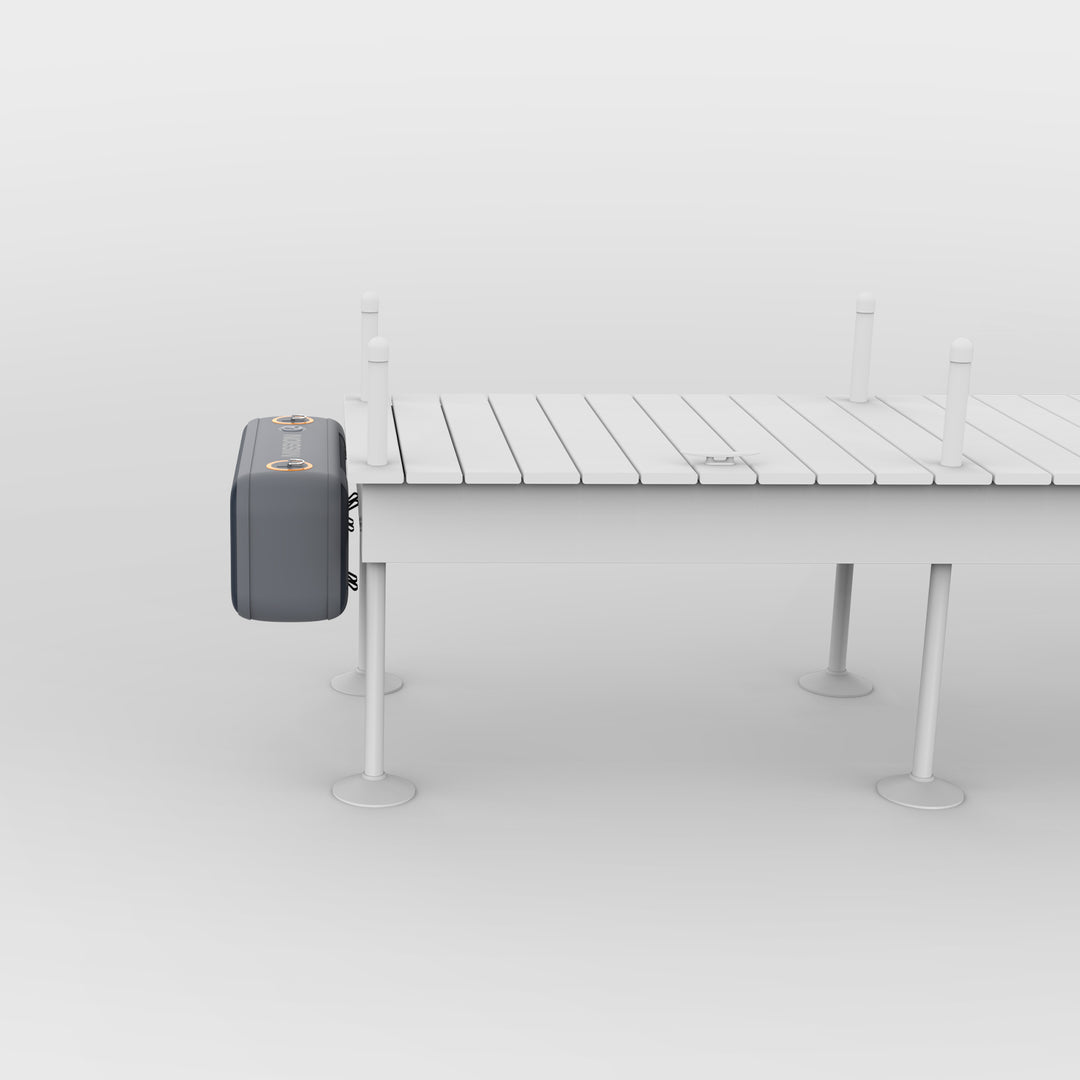
Before setting up your TITAN Dock, carefully plan the attachment points:

  1. Position TITAN Dock to cover at least the rear third of the docked watercraft.
  2. Attach TITAN Dock to at least two locations on the dock, such as legs, pilings, or cleats.
  3. For optimal results, use multiple attachment points spaced less than 8 feet apart.
  4. Align TITAN Dock to utilize several dock attachment points. 
  5. Avoid overhangs – ensure TITAN Dock is well supported near the stern to prevent flexing during docking.

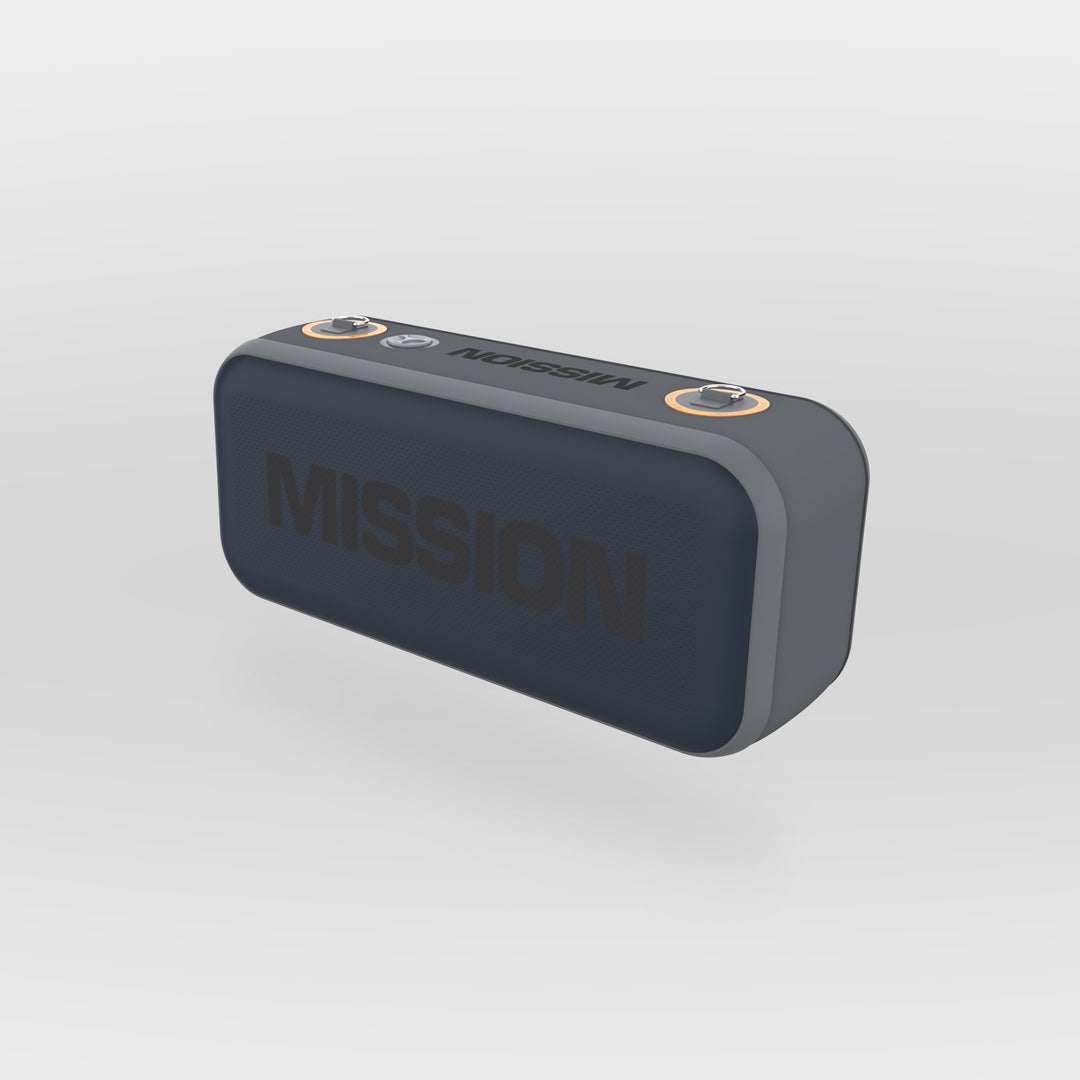
ALTERNATIVE MOUNTING:
Utilize the D-rings on top for suspension from a sea wall or smooth-faced dock if no attachment points are behind the fender.

Inflate & Prep

Unroll and inflate TITAN Dock to a minimum of 1 PSI and a maximum of 5 PSI using a pump with a Halkey-Roberts (HR) style adapter tip.

Thread black fastening straps through mounting loops on the back. Thread through both the top and bottom loop sets for the most secure attachment. (Top loops may be used without using bottom loops, but bottom loops cannot be used without using top loops).

Adjust pressure for desired bump protection—lower pressures for softer and higher pressures for firmer protection.

Secure

Attach TITAN Dock to the dock with D-rings facing up.

Position the fender in the planned location and loop your fastening straps around the dock features you previously identified.

Secure straps around each feature by weaving through the integrated buckle.

Pull each of the straps tight. You may need to realign the strap within the loops several times to fully tighten straps.